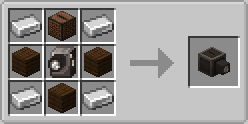
Frame by Frame is a mod all about making movies, and recording videos. the mod has a lot to offer, such as the splicer: the splicer allows you to edit your videos in the game. what this mod does is very new, something i havent seen othe mods do. it lets you take videos in the game. but litterally, take videos in the game. this mod is styled just like the mod exposure, with beutiful textures, and well made mecanics.
before you read further, you should probobly see what it can do... click https://youtu.be/aTXYrkI0jCg if u wanna see a cool video i shot with the mod:3
the reason i made this mod: i feel like exposures reason to make photo cameras a thing was becouse people get attatched to there worlds, and wanna keep memories of that time they played a world or a server. thats what i had in mind with this mod, i just wanted to give the option to watch back on those memories, not just a photo. makes it feel a little more lively :3
------------------CAMERA CONTROLS/WHAT YOU CAN DO WITH IT------------------
-> how to take videos with the camera: it works just like exposures camera. you shift right click to open the cameras invintory, and right click to open the viewfinder. to record videos, you hold right click. to go into the config of your camera, you just shift while in the viewfinder.
-> the controls: the number on the circle looking thing is your FPS, video is normally shot at 16 frames a second, but lets say you want someone or something to look really really fast! you can lower your FPS to make them look like theyre slowing down. theres probobly a lot better uses for it, but thats what i kept in mind with it.
-> the controls2: the button with the timer is for setting your camera to a set amount of time. so you can put it on a tripod, set the timer, and it will record without you having to touch it! to change the amount of time, scroll.
-> the controls3: the shutter controls are for shooting one photo at a time, or shooting a video. you could use it for stop motion if you wanted, or something else.
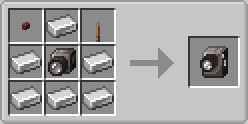
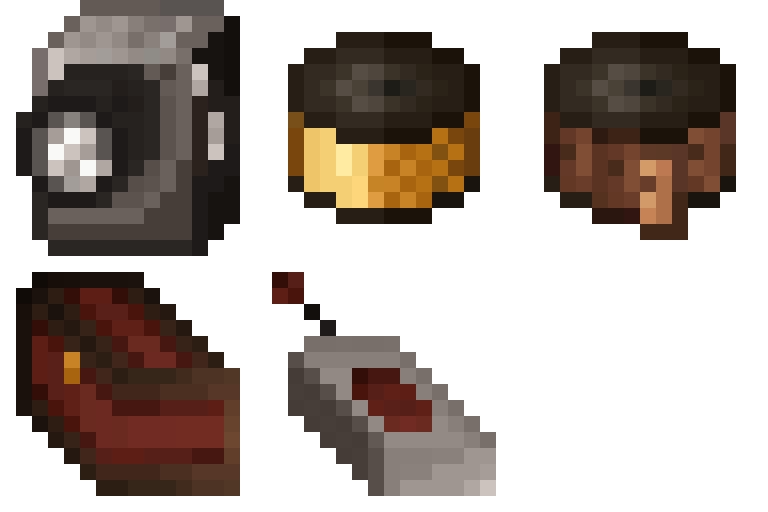
-> some attatchments you can use on the video camera are: a noteblock, spyglass, interplanar projector, and any glass pane.
-> what the noteblock does: it allows you to record audio with your video! but you need to use the audio video films, becouse regular silent film doesnt have it. -> what the spyglass does: its for zooming in really far.
what the interplanar projector does: it allows you to put internet videos onto your films! be aware that it takes up the whole roll of film. it supports youtube, the internet archive, and direct link files.
-> what the glass panes do: they add a tint of color to your video, and im not gonna lie.. i really dont think its any useful. but i added it becouse someones gonna find out what to do with it.
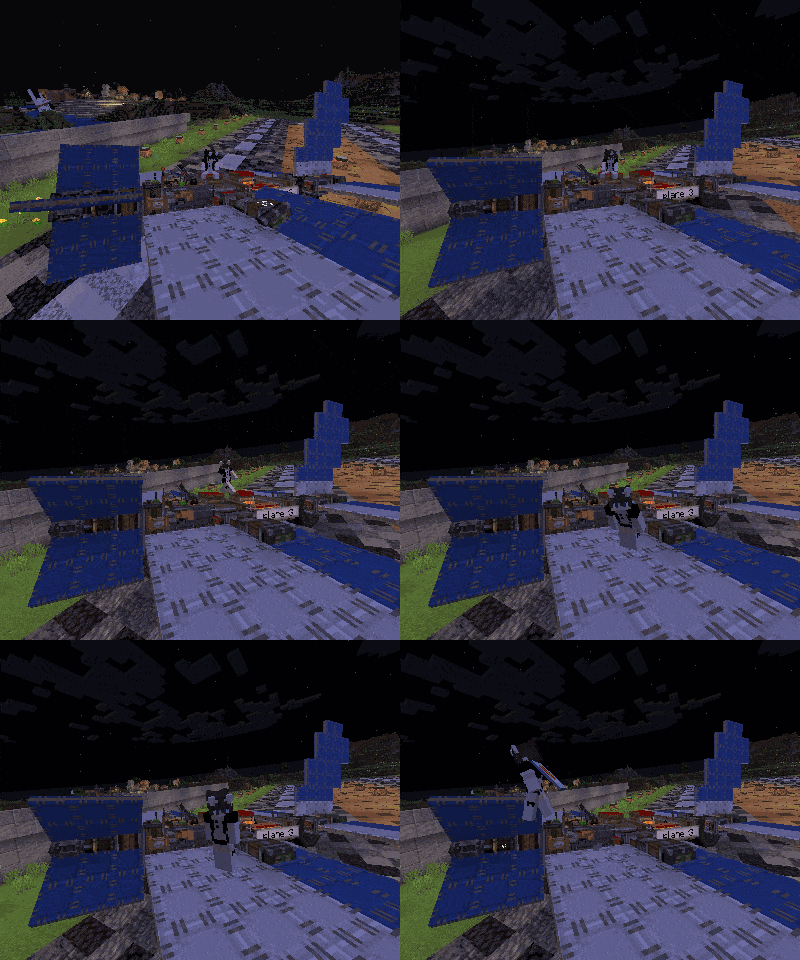
-> funny thing you can do with the camera: you can press alt + right click to put a camera on your head! and your friend can record video from it with a shutter button.
-> camera stand: you can put the video camera on a camera stand, so you can record yourself or something, i dont knnow..
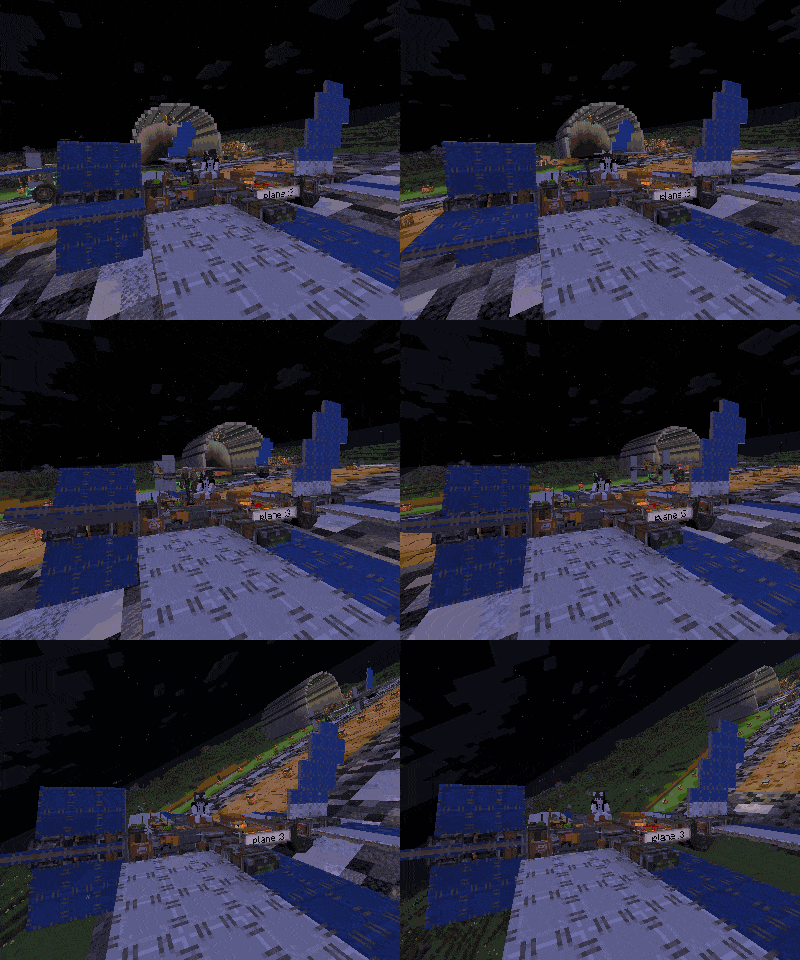
-> camera stand fix: camera stands on sublevels sucked until now, thats right, they dont glitch and get ruined! camera stands now work on sublevels almost perfectly!
------------------DIFFERENT TYPES OF FILMS------------------
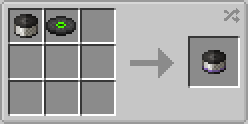
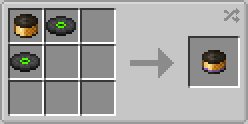
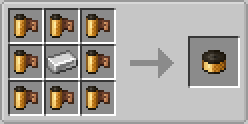
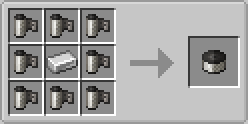
-> there are 4 types of video film: color video film, black & white video film, color audio video film, black & white audio video film.
-> what you can do with regular video film: you can record just video in either color or black & white.
-> what you can do with audio video film: you can record video and audio together in both color and black & white, but you need a noteblock for your video camera!
------------------WHAT YOU CAN DO WITH THE PROJECTOR------------------
-> how do you use the projector: relitive to the projectors lens, the left side when powered with redstone pauses the video. the right side plays the video and stops it, the top of the projector is the video film slot (it will only take developed reels, keep that in mind), and the back of the projector controls the volume of the audio.
-> how do i place a projector down?: this question sounds dumb, but its a very good question. a projector needs to be on the center block of a wool wall in order to project the video. the wool wall needs to be an odd number like lets say 7 blocks wide, becouse if we break 3 blocks inward on each side, it leaves 1 block left. that one block is the center point, and when your projector is on that line of sight, it will project a video that you play on it! it sounds confusing.. but its as simple as i could make it.
-> what can i put in the projector: you can put photo albums, and developed video film reels into the projector.
------------------HOW TO EDIT VIDEO WITH A SPLICER------------------
-> in the splicer GUI, theres a viewer, below the viewer theres 2 scrubbers, 7 buttons on the right side as well as invintory slots, on the left side there are film outlines and a scrubber. i will explain what they all are, then how to use them.
what the film outlines are: they are the video clips that you recorded on your video camera, so when you put a reel of video film into the invintory slot on the right your video clips pop up on that list. you can scroll up and down to go through it, or use the scrubber to the side of it.
the viewer set up: so there are 2 scrubbers and 4 buttons below the viewer. the top scrubber is used to scrub through your edit, and the buttons are for playing the video back. the second set of buttons are used for zooming in and editing, the second scrubber allows you to look around the video easily when zoomed in. keep in mind that when your using an editing effect, the zoom and scrubbing dont work for the bottom scrubber or buttons.
how to use the trim button: the trim effect is as simple as it gets! when you want to trim a video, you press the button (it looks like this []), after pressing the button, you click the video clip you want to trim. when thats done, it puts two handles on the second scrubber track to help you trim the video! to apply that effect, you press the green check mark, and its done!
how to use the transitions button: lets say you want to add a transition to your edit, you would press the button (it looks like this ][) and then select the transition you want to do. theres 3 transitions: cross fade, fade to black, fade to white. once you selected the transition you want to use, use the second scrubber and buttons to configure how you want it to be. the buttons choose if you want it to be infront, or on the back of a video clip, and the scrubber lets you change how long the transition goes on for. transitions can be applied to everything! music, text, video, and images!
how to use the text button: the text button is fairly simple, you press the button with the "T", and the text box will clear. the text box is where you can put whatever text you want, and the second set of buttons and scrubber let you configure the text. when the text button is pressed, a pop up will come up with 3 buttons, those buttons let you put the text where ever on the screen. the second set of buttons lets you change the color, and the font. the second scrubber lets you put the text anywhere in the video!
how to use the music button: press the button, a pop up with list comes up. that list is the music discs you put into the splicers invintory, you drag and drop the song you want to use onto the first scrubber, and you can move it around the scrubber track too.
how to trim music: you can trim music by pressing the music button, selecting the song you want to trim, when it blinks, press the trim button, and trim it!
how to use transitions with music/text/images: you click the text/music/image button, select the text/music/image you want to add a transition to, then press the transitions button. it will only have one option, which is to fade it in or out. you already know how to do transitions, so i dont have to explain that one.
how to use the image button: click the image button, it will have the same list as the musics one. you do the drag and drop of the image you want to use onto the viewer, and its in the video! you can use the second scrubber to change where it is on the time line, and you can drag it on the viewer to move it around. click hold + scroll to change the size of the image.
i think im done.. if i got anything wrong, let me know. OH and one more thing, to apply most the effects, you press the green checkmark! and to stop doing something, you press the red "X".
------------------HOW TO USE THE SHUTTER BUTTON------------------
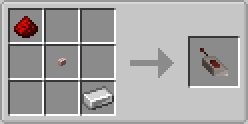
the shutter button is a very simple tool, it allows you to have a camera take a photo or video without having to be near the camera. all you have to do is shift + right click to link the button to the camera, and when thats done, you can left click again to start recording or taking a photo with the camera.
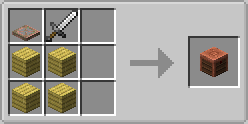
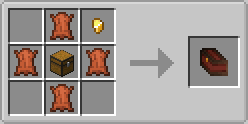
------------------HOW TO USE THE PHOTO BOX------------------
its a bundle that only allows spicific items to be in it, those items are:
- video camera, exposures camera, shutter button, 8 films, a camera stand, camera attatchments, and any glass pane color exept for clear.
------------------end :3------------------
and i think thats about it, i wrote all of that at 3 in the morning.. hope some people enjoy my mod! :D
important: this mod can take up a lot of storage, since its taking videos in the game. videos recorded on a server stay on the server but are compressed with lossless quality. be aware that recording a bunch of videos can take up a lot of storage.
discord server: the discord server has been a thing since i started working on the mod (as of august 16th its been 2 months and 10 days), but i never released it becouse i was really nervous ;-; just respect the rules and be nice:3